Tuesday, 28 July 2020

Ornament Wreath

I made one more card for the Gina K. Designs Monthly Mix Challenge - Christmas in July. 


I wanted to make a square card, using the wreath builder template, so I went through my Gina K. Designs stamps and tried a couple of different combinations before settling on this.

The ornaments are from the Holiday Frame set, by Melanie Muenchinger, and are stamped with Gina's Jet Black Amalgam ink. The set of 8 ornaments are one stamp, and the cute little hangers are also one stamp, so once you get them lined up, it is easy to stamp them with the MISTI and wreath builder template. Then you rotate the cardstock 1/4 turn, stamp again and repeat, until you've stamped them 4 times. If I had adjusted them a bit, I would have had a solid wreath.

To fill in the ornaments, I used a couple of stamps from the Holiday Frame set, and also some from the Fabulous Holiday Fillers, also by Melanie Muenchinger. I love how the elements from her different sets can be used together. I used Gina's Passionate Pink, Wild Dandelion, Cherry Red, and Blue Raspberry ink.

The sentiment, from the Sketched Wreath Builder stamp set, was stamped with the Jet Black Amalgam ink and embossed with an opalescent embossing powder from my stash.

I used Gina K. Designs Red Velvet cardstock to mat the wreath layer and then attached it to a white card base. I thought it needed something else, so I added some Christmas Red Stickles to the corners.

So now I have a few Christmas cards made and can get lots of inspiration from all of the beautiful cards that are in the challenge!

Thanks for stopping by,
Dawn

Friday, 24 July 2020

Slimline Christmas Card

I made another Christmas card for the Gina K. Designs Monthly Mix Challenge - Christmas in July. I decided to make it a slimline card.


I used the Gina K. Designs Stamp n Stencil Wishing You Joy set. It comes with stamps and coordinating dies and stencil. The stencil has a background pattern, and smaller images that you can use to embellish the stamped images. 

I used a blending brush to add ink (Gina K. Designs Soft Stone ink) through the stencil to make the background. Then I stamped the ornaments (Gina K. Designs Blue Raspberry and Plum Punch) and cut them out with the die. I added Deco Foil Transfer Gel Duo through the stencil to add details to the ornaments and let it dry until it was clear. This was the first time I had used this gel, so I foiled a couple of them (Gina K. Designs Silver Sequins Fancy Foils) with my embossing machine, using pressure, and a couple of them with the laminator, using heat. Both ways worked well.

I used my MISTI to add the ornament hangers to the top, and to stamp the sentiment with VersaMark ink, which I heat embossed in silver. I used a black mat for the sentiment to make it stand out.

I didn't have any matching Blue Raspberry cardstock, so I stamped along the edge of a piece of white cardstock with Blue Raspberry ink, before adding it to a white card base. I attached the stenciled background and then popped up two of the ornaments with foam squares, as well as the sentiment.

I was really pleased with the Transfer Gel and look forward to using it again!

Saturday, 11 July 2020

Rainbow Window Card

On one of her recent Stamp and Chat videos, Gina K. showed how to make a window card by masking off and then adding ink to the 'window' panes. Then she added silhouette images and a sentiment. Since the challenge this week for the Mod Squad Challenge Blog is Silhouette Time, I decided to make a window card. I am also entering it in the Splitcoaststampers MISTI Monday July 2020 challenge - Not an A2 card, and made a slimline card.


I used Inkadinkado Masking Paper to mask off the window areas and blended on Gina K. Designs  Cherry Red, Tangerine Twist, Wild Dandelion, Lucky Clover, Blue Raspberry, Blue Denim, Wild Lilac, and Passionate Pink ink.

I removed the masking paper and stamped the images and sentiment from the Gina K. Designs Natural Silhouettes stamp set with her Jet Black amalgam ink. I used my MISTI so I could stamp the images a couple of times to get solid images.

After matting the panel with black cardstock, I attached it to a white card base. I found matching sequins in my stash so I added these to the appropriate coloured sections.

The Stacker


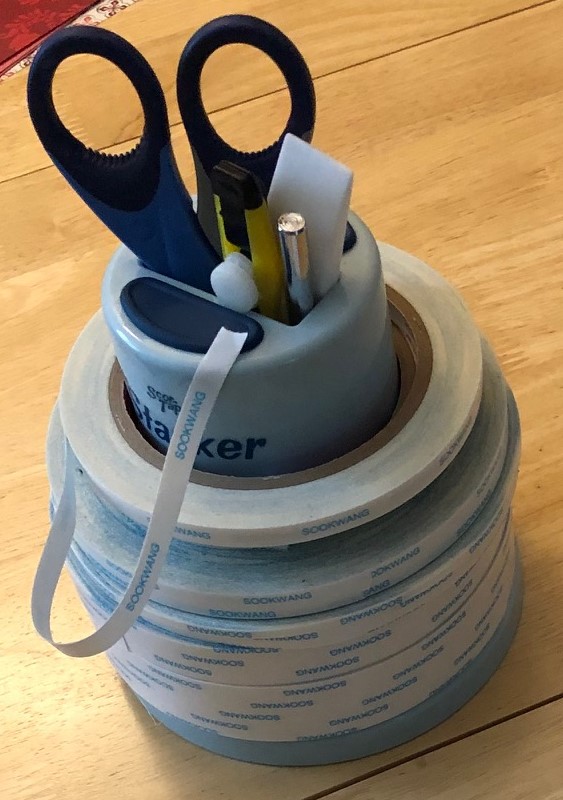
I have a short post today to introduce you to a new item from Scor-Pal - The Stacker!


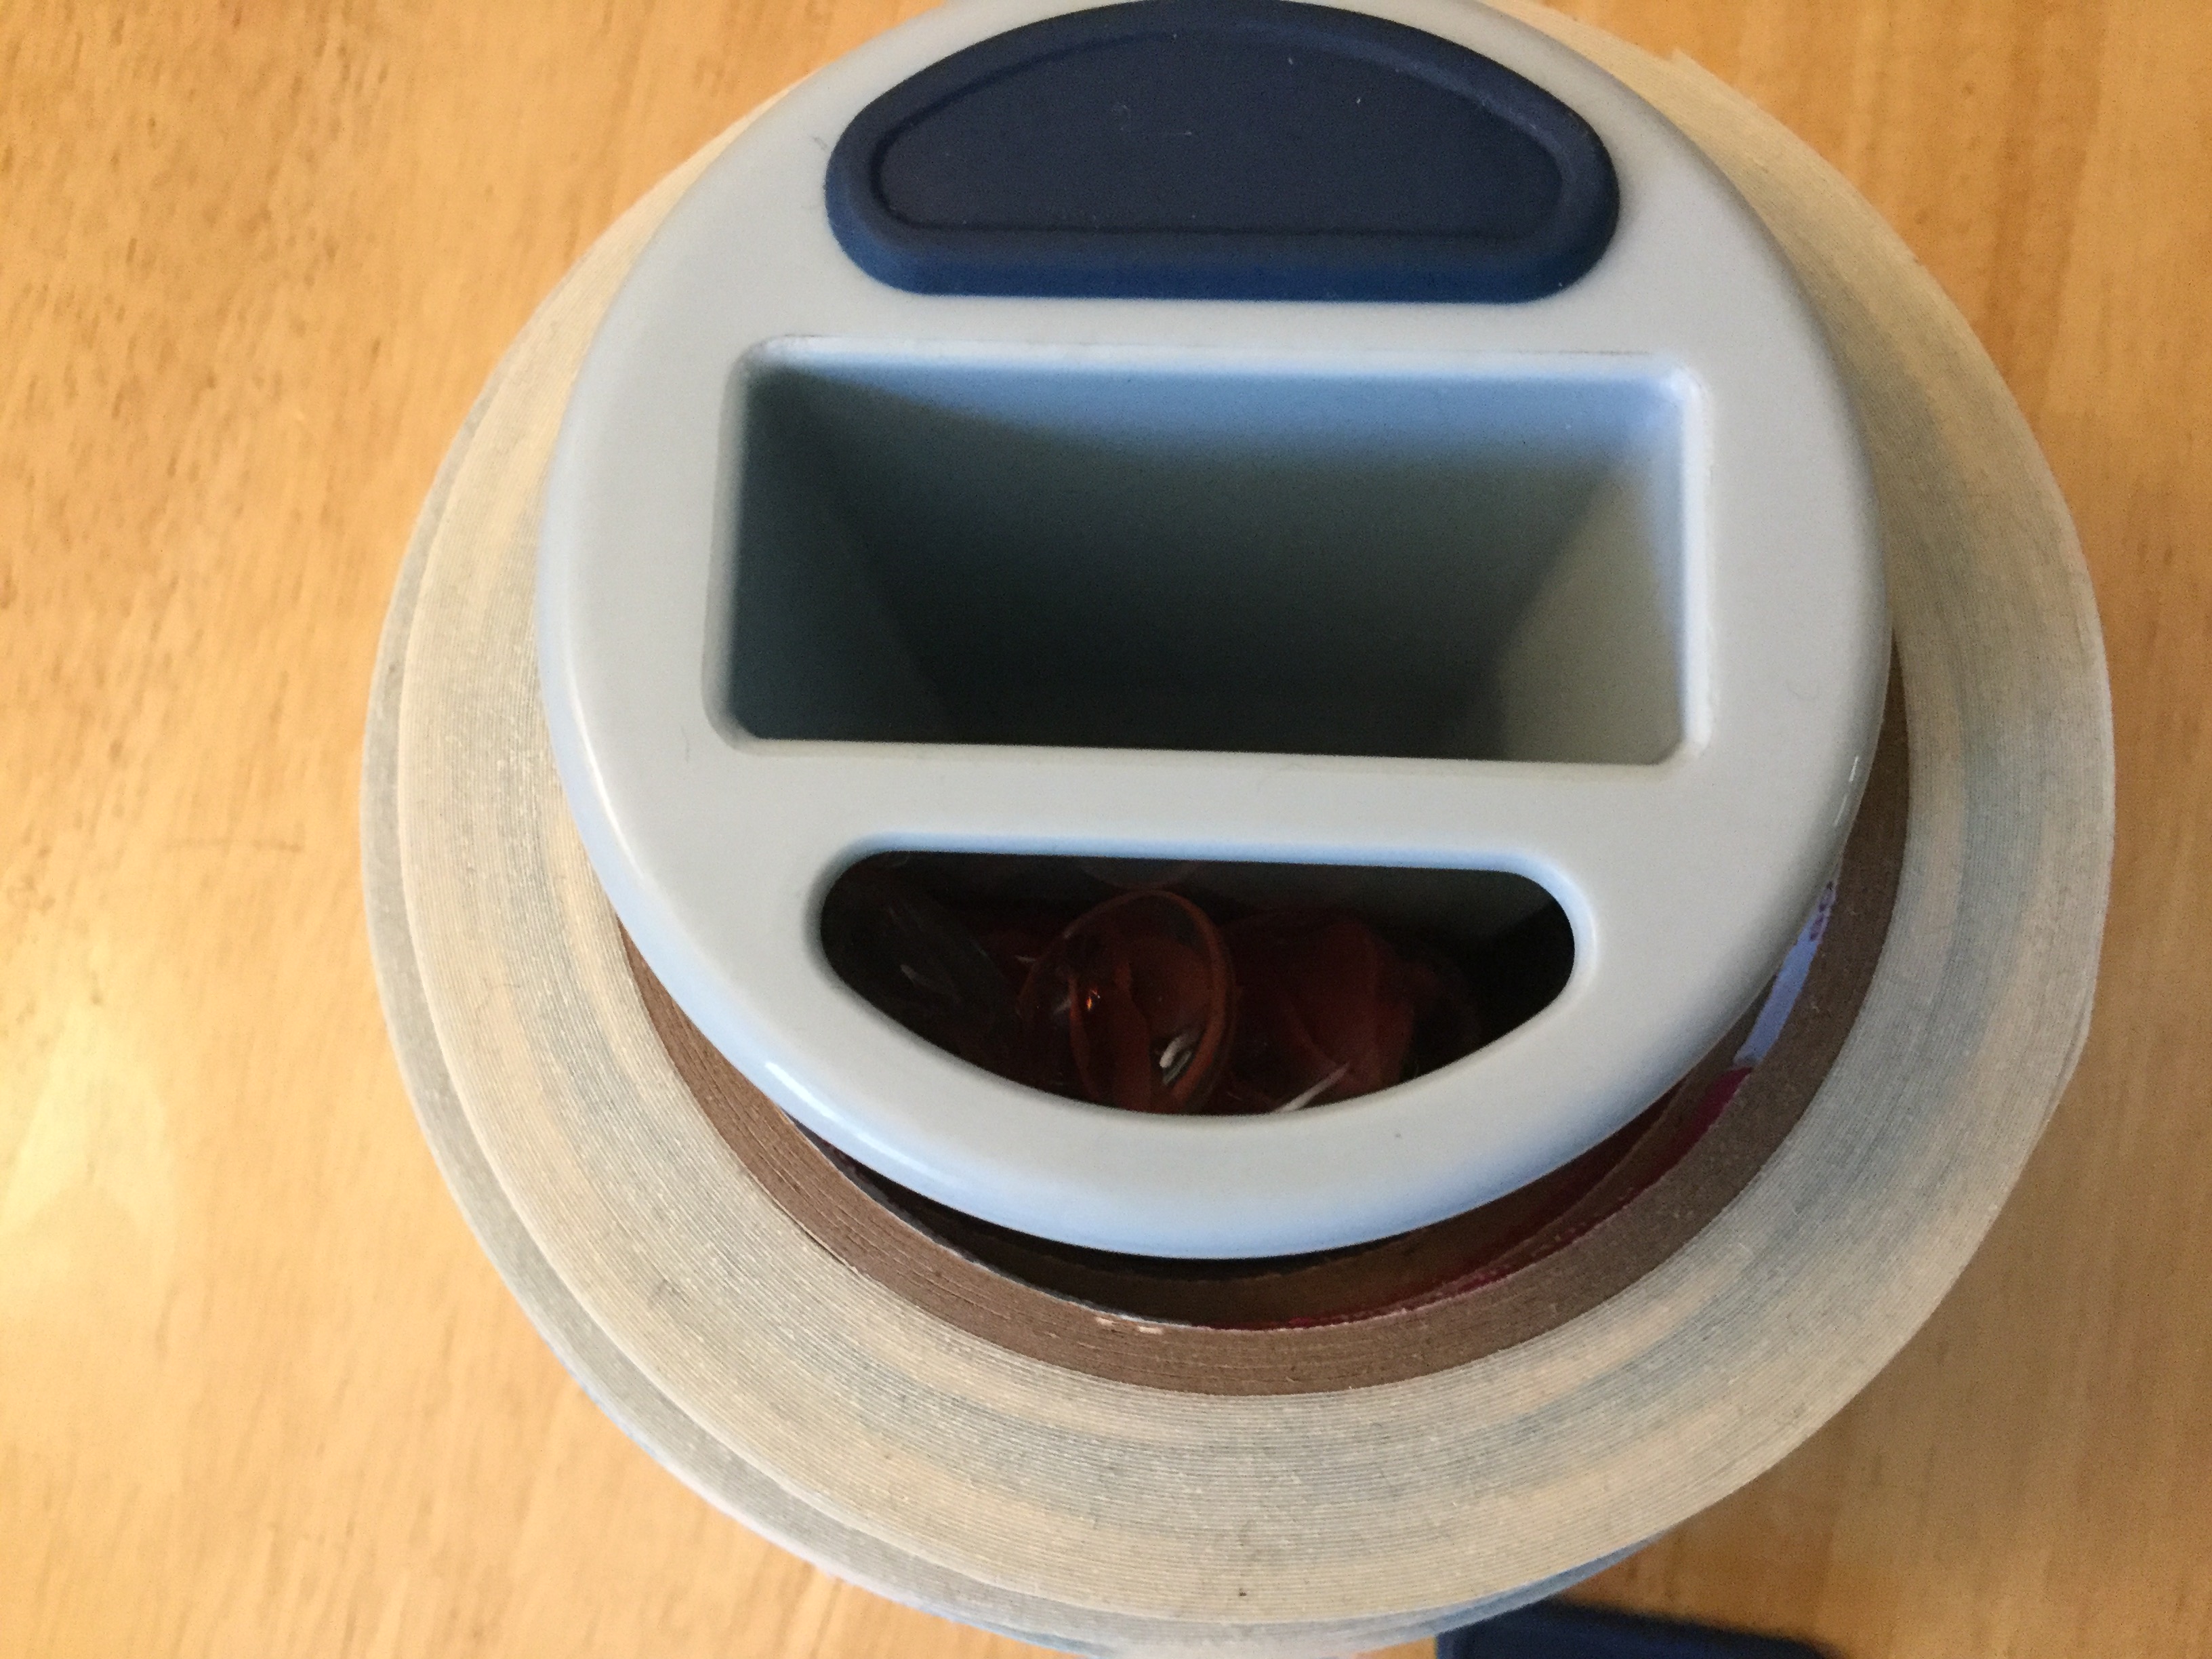
The Stacker is great for storing and using your Scor-Tape, or any tape that has a 3" middle hole. When you receive yours, you will want to fill it with stones or sand to give it weight. It comes empty to cut down on shipping costs. Do not fill it with water or liquid, but anything solid is okay. Just remove the tabs at the top to fill the two sections.


Not only can you store your Scor-Tape on the Stacker, but it's like having an extra hand when you are using your tape. It is recommended to place the tape that you are using at the top, so it will turn freely.


If you have to pause, you can stick the tape to the top of the Stacker and you don't have to search for the end of the tape.


As you can see from the pictures, there is a slot in the top to store things that tend to get buried under paper and cardstock! I have my scissors, bone folder, craft knife and pokey tool in mine. 

You can purchase it here. I hope you enjoy yours as much as I do!


Wednesday, 8 July 2020

Peace, Love and Joy

I made this card for two challenges - the Gina K. Designs Monthly Mix Challenge - Christmas in July, and the Mod Squad Challenge Blog - Silhouette Time.


I decided to make a clean and simple Christmas card. The snowflakes and sentiment are from the Gina K. Designs(GKD) Sparkling Snowflakes stamp set. They are embossed with white embossing powder. The cardstock is GKD Blue Denim.

Since the design is so simple, I added some score lines with my Scor-Buddy, and some rhinestones for a bit of sparkle. 

Another Christmas card made! Since the Gina K. Designs challenge runs all month, I'll probably make another one or two.

Tuesday, 7 July 2020

With Sympathy

The current challenge on the Mod Squad Challenge Blog is Silhouette Time. Our focal image must be a silhouette.


I used the Gina K. Designs(GKD) Sassy Stripes stencil to make the background. I first used a blending brush to add GKD Turquoise Sea ink and then shifted the stencil and added GKD Wild Wisteria ink. 

Then, using my MISTI, I stamped the image and sentiment, from the GKD Natural Silhouettes stamp set, with GKD Jet Black amalgam ink. I stamped it twice to get a solid image.

I matted the front panel with purple cardstock and added it to a white card base. Since it's a sympathy card, I kept it fairly plain. 

Wednesday, 1 July 2020

Canadian Patriotic Card


It's time for another Scor-Pal More Than One Score Challenge. We have a theme that the Design Team will follow, and we would love you to follow too, but if you don't want to you can do an "Anything Goes" creation as long as it follows the general rules. 

Each month we will have a different theme and you will have a month to create and enter your projects. As well as the theme you will need to make "More Than One Score" and tell us where you used the Scor-Pal on your project. So a single fold card won't count but an Easel, Gatefold, Stair Step, etc will :) Also we love to see your "Anything But a Card" projects, just as long as you make "More Than One Score".

This month, the theme is Summer or Patriotic. I decided to do a patriotic card, and since I live in Canada, our birthday is July 1st.


This is what I used to make this card:
Scor-Tape
Stampin’ Up! Real Red designer series paper, Outlined Occasions stamp set
Gina K. Designs Cherry Red ink
VersaMark ink
Plaid Folk Art Swirl Background stencil
blending brush
MISTI
clear embossing powder, maple leaf stamp, ribbon, sequin, pearl half


I don't have any fireworks stamps, but I thought a rosette would look like a firework burst. To make the rosettes, start with a piece of paper 12" x 5". With the 12" side at the top of your Scor-Pal, score every inch. Then flip the paper over and score every inch, starting at 1/2 inch. Cut the paper so you have 8 strips - 2 each of 1", 3/4", 1/2" and 1/4". My paper was double sided, so my 4 strip sizes looked like this.

Accordion fold all the strips. Tape the two 1"strips together to make a circle. Push down in the middle and add a circle of cardstock in the middle to hold it together. You can also add a circle at the bottom to make it easier to attach to your project. Repeat with the rest of the strips.

To decorate my card, I used a stencil for the background and stamped the sentiment at the bottom. I taped a piece of sparkly ribbon at the bottom of the stenciled portion and added the rosettes at the top.

I hope you have a chance to enter the challenge. You could win a gift certificate for the Scor-Pal store!


Saturday, 27 June 2020

Pink Graduation Card

This month's challenge for the Monthly Mix at Gina K. Designs is Graduation, and the challenge for the Splitcoaststampers MISTI Monday is to use Pink. So, I made a pink graduation card!


The background is a few colours of pink ink applied with a blending brush. I used Gina K. Designs   Bubblegum Pink, Innocent Pink, Dusty Rose, and Passionate Pink ink. I wanted to give it some sparkle, so I brushed on some Liquitex Iridescent Medium and let it dry.

Using my MISTI, I stamped the main sentiment with Gina K. Designs Jet Black Amalgam ink. I wanted to emboss it, so I stamped it several times to get a nice solid image. The other two sentiments were stamped once, as I wanted them to be a little lighter. The sentiments are from the Gina K. Designs Follow Your Dreams stamp set, by Theresa Momber, and the Massive Messages stamp set.


I matted it with black before attaching it to a white card base, and adding the ribbon, bow and rhinestones.

Saturday, 13 June 2020

Watercolour Stamping

This card uses a technique called watercolour stamping. You either colour the stamp with water based markers, watercolours, or you can paint on water based ink. I chose to paint on some water based ink. I made this card for the Mod Squad Challenge.


I used the flowers from the Gina K. Designs (GKD) Made With Love stamp set and painted them with GKD Innocent Pink, Bubblegum Pink, and Passionate Pink ink. I didn't clean the brush in between each stamping, so there is a mix of the colours in each flower except the first one in the upper left corner. It is a bit light, but it still works! If you look closely, you can see the streaks from the paint brush in the flowers.

I added a piece of the GKD Delicate Essentials patterned paper pack down the center before attaching it to a Bubblegum Pink mat and then to a white card base.

The sentiment was stamped with GKD Jet Black Amalgam ink, cut out with the Creative Memories cutting system and matted with a piece of Bubblegum Pink, cut with a Cottage Cutz Stitched Circle die. After attaching it to the card, I added a few rhinestones for some sparkle.


Monday, 1 June 2020

Twisted Pop-up Card


It's time for another Scor-Pal More Than One Score challenge. This month, the theme is Masculine or Father's Day, or you can do Anything Goes, as long as it follows the general rules.

Each month we will have a different theme and you will have a month to create and enter your projects. As well as the theme you will need to make "More Than One Score" and tell us where you used the Scor-Pal on your project. So a single fold card won't count but an Easel, Gatefold, Stair Step, etc will :) Also we love to see your "Anything But a Card" projects, just as long as you make "More Than One Score".

This month, I decided to make a twisted pop-up card.


When you open it, it twists and pops up.


To make this card, you will need the following:
Cardstock: 
4 1/4" x 11" piece
3" x 8" piece
3 3/4" x 11" piece

Patterned paper:
2 - 4" x 4" pieces (I used Gina K. Designs Delicate Essentials paper pack)
4 - 2 1/2" x 3 1/2" pieces

I used Gina K. Designs By the Sea and Follow Your Dreams stamp sets, Sea Glass, Ocean Mist, Sandy Beach and Warm Cocoa ink, Ocean Mist cardstock, my MISTI and a blending brush.


Using your Scor-Pal, score the 4 1/4" x 11" piece of cardstock at 5 1/2", and fold. Attach the two 4" x 4" pieces of patterned paper to the inside, at the bottom and top.

Then take the 3" x 8" piece and score at 1 1/2" on the short side, and 4" on the long side. Make a mark at 2 1/2" and 5 1/2" on the top and bottom edges. Score from the 2 1/2" on the top to the 5 1/2" on the bottom. Repeat with the other side to make an X. The lines should meet where the other two lines intersect. Fold and burnish all the score lines.

On the 3 3/4" x 11" piece, score at 5 1/2", turn the cardstock over and score at 2 3/4" and 8 1/4". Fold so that you get a W shape and burnish the folds. You should end up with pieces that look like this:


To make the pop-up mechanism, take the 3" x 8" scored piece and push the middle of the long sides together. See below, left. Then flatten it to get the shape in the right hand picture below. It looks like a tent with two legs.

Adhere Scor-Tape to the triangular part on both sides. Attach one side at the center of the cardstock,  at the score line. 


Close the card, to make sure it will close properly. Remove the liner paper from the tape, close the card again to attach it to the top. 

Decorate the W shape piece and fold back up to make a booklet. Place the booklet near the top of the card with the open section at the top. Place Scor-Tape on the top right corner of the tent (pop-up mechanism). Close the card, adhering the booklet.


Turn the card as shown below, add Scor-Tape to the top right hand side and close the card again to attach the booklet, lifting the right edge of the booklet above the leg piece with the tape.

.


So the booklet is sandwiched in between the two legs of the tent piece.


When you open the card up, the booklet opens.


If you would like to watch a video, I found this one. She explains it quite well.