Tuesday, 5 November 2019

Winter Drink


I have one last card for the Coffee Lovers Blog Hop. 


I used the free digital file from Jessica Lynn Original again, this time using the winter swag. I printed it out and cut it out with my Silhouette Cameo. This saved me from having to fussy cut it, but you can certainly do that if you don't have an electronic cutting machine. I coloured the images with coloured pencils.

For the background, I stamped some images from Gina K. Designs Sparkling Snowflake stamp set in Blue Denim ink using my MISTI. I cleaned the stamps and then inked them up with VersaMark ink and stamped over the first images. Then I heat embossed them with clear embossing powder. I repeated this until the background was finished. I adhered the swag to the cup and then attached the cup to the background with some foam squares.


Love and Cocoa


I came across this sweet stamp set in my collection and had to make a card with it for the Coffee Lovers Blog Hop.


This is from the Simon Says Stamp Cocoa and Love stamp set. It's a small stamp, so it's a small card! I stamped the image with Gina K. Designs Chocolate Truffle Amalgam ink and coloured it with coloured pencils. I added the sentiment and stamped the hearts with Gina K. Designs Red Velvet ink and it was done! 

I think the image is adorable. The cute little mouse looks so pleased that he has his cocoa to drink, and he even has a candy cane to go with it.


Pumpkin Spice


As I was hopping along the Fall/Winter Coffee Lovers Blog Hop, I came across a free digital stamp from STAMPlorations. It is called Pumpkin Spice Coffee Delight, so I thought I would make a card with it.


I printed out the image and used my Silhouette Cameo to cut it out. I coloured it with coloured pencils and used puffy embossing powder for the cream on the coffee. 

I used a stencil for the background and then adhered the image with some foam squares.


I have been inspired to do more colouring by the 30 Day Colouring Challenge. I am also entering this in the Simon Says Stamp Wednesday Challenge - Anything Goes.

I used the following supplies:
Pumpkin Spice Coffee Delight image by STAMPlorations
Plaid FolkArt Swirl Background stencil
VersaMark marker
Gina K. Designs Puffy White embossing powder
                            Warm Cocoa ink
coloured pencils, white cardstock


Sunday, 3 November 2019

Perfect Blend


One of the sponsors of the Coffee Lovers Blog Hop is offering a free digital stamp set. I decided to use two of the digital stamps from Jessica Lynn Original on my card today.


I made this on day 2 of the 30 Day Coloring Challenge, so it was another opportunity to use my markers.

I printed out the designs and cut them out with my Silhouette Cameo. I coloured them with my Spectrum Noir alcohol markers (colours are listed below) and adhered the fall leaves onto the cup. I layered some patterned paper onto a white card base and attached the cup. 

I stamped the sentiment, die cut it, coloured it with an alcohol marker, and popped it up with some foam squares. I had some metallic leaves in my stash, so I added these at the bottom.

I am also entering this in the Simon Says Stamp Wednesday Challenge - Anything Goes.


I used the following supplies:
Digital designs from Jessica Lynn Original
Spectrum Noir: cardstock
                          Alcohol markers: DR3, CR11, OR1, OR2, OR3, GB3, GB5, GB6, BO2, BO3, GB9,                                                         GB10, CG2, EB1, EB2, EB3, EB4
Paula Deen paper pack
Gina K. Designs Perfect Blend stamp set
Cottage Cutz Stitched Circle die
white cardstock, foam squares, metallic leaves from my stash

Friday, 1 November 2019

Coffee Helps

Today is the start of the Coffee Lovers Blog Hop!


I made a one layer card, so I used Gina K. Designs (GKD) White heavy base weight cardstock as I knew that the alcohol markers would not bleed through.

First, I cut a circle out of masking paper and adhered it to the middle of the front. Then, I stamped the coffee cup, from the GKD Perfect Blend stamp set, all over the background with GKD Chocolate Truffle Amalgam ink and coloured them in with Spectrum Noir alcohol markers EB4, EB3, EB2, EB1 and BG1.

I removed the masking paper and stamped the sentiment, also from the Perfect Blend set, in the middle of the circle.

Today is also Day 1 of the 14th Daily Marker 30 Day Coloring Challenge.


We are challenged to do some colouring every day for 30 days. It doesn't have to be a whole card - even 10 minutes is good. It's okay if we don't join in every day. We can use markers, watercolors, coloured pencils - whatever we want. The idea is just to have fun. Check out the blog post for all the details.


Scor-Pal More Than One Score Challenge - November


It's time for the next Scor-Pal More Than One Score Challenge. This month, the theme is Birthday or Family Celebration.


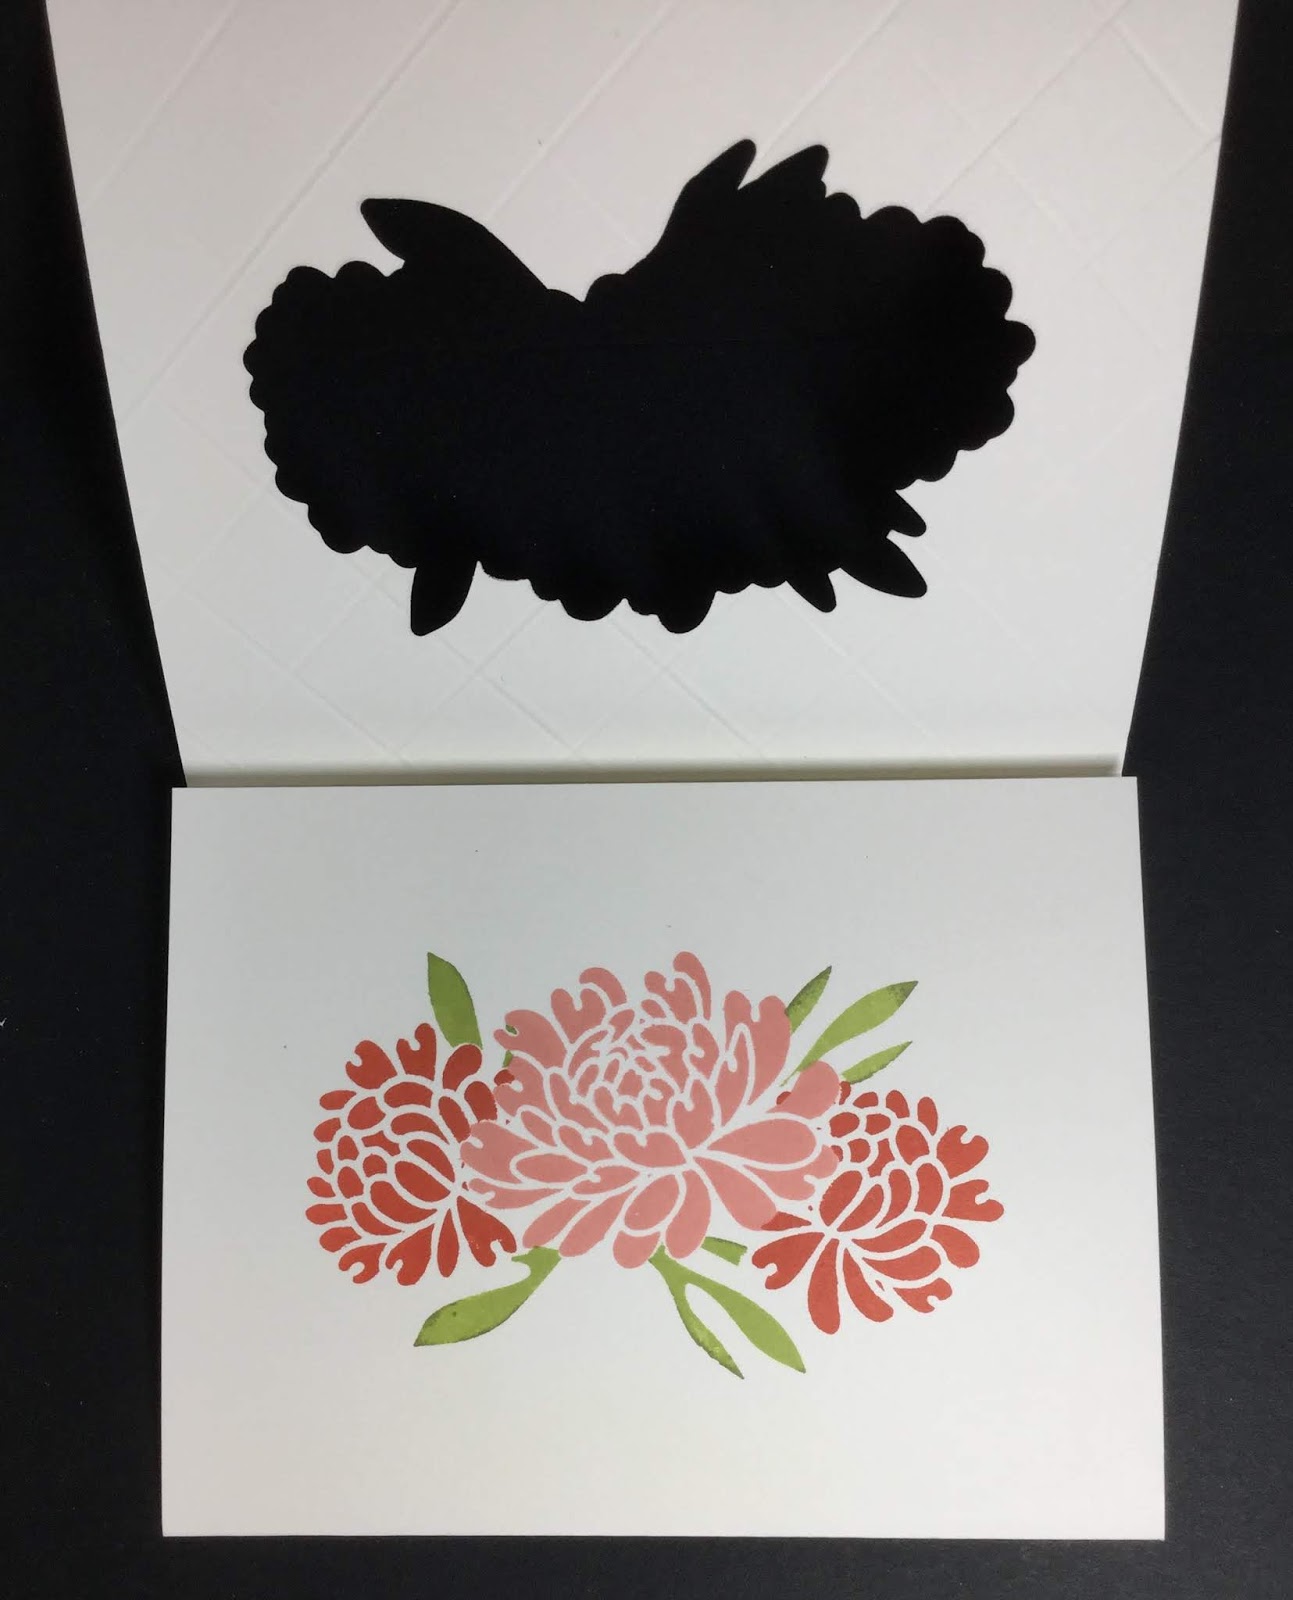
This is a card technique that I saw on Jennifer McGuire's blog. It is called Tri-Fold Window Card. The top layer has a die cut hole that looks through to the second layer. Then you open the second layer to see the inside where you can add a sentiment.

To start, score two 5 1/2" x 8 1/2" pieces of white cardstock at the 4 1/4" mark. This creates two top fold card bases. On one piece, with the fold at the top, decorate the front. I used a stripe stencil and rotated it to make a gingham pattern. With my Scor-Pal, I scored in the middle of every second yellow stripe. Then I turned the cardstock over and scored over the score lines so the scores come out from the front of the card, and aren't indented. It's hard to see in the picture, but the scores go in both directions.


On the other piece of cardstock, with the fold at the bottom, stamp your design. As you stamp it, also stamp it in the same place on the front of the other piece. I used my MISTI to make it easy, and masked off parts to make the design. After your design is finished, die cut the design out of the front piece. You should end up with something like this:


From the un-decorated 5 1/2" side, cut off about 1/8" on each piece of cardstock. Place the back of the front piece inside the decorated piece and adhere the two back pieces together. I used Scor-Tape to make sure the pieces stayed together. I added a sentiment, which I heat embossed, to the front of the card to finish it off.


I used the following supplies:

Scor-Pal
Scor-Tape
MISTI
Gina K. Designs: Art Stencils - Sassy Stripes
                            Dazzling Dahlia stamp set and coordinating dies
                            
Birthday blessings stamp set
                            Ink: Prickly Pear, Peach Bellini, Sweet Mango, Jelly Bean Green, Fresh Asparagus
                            White, Sweet Mango cardstock
VersaMark ink
Brown embossing powder
Tim Holtz Celebrate die
blending brush

Wednesday, 30 October 2019

Especially for You

I decided to make one more card for the Gina K. Designs Monthly Mix Challenge - Repeat the Sentiment. I am also entering it in the Simon Says Stamp Wednesday Challenge - Anything Goes.


I started by stamping the sentiment several times, using my MISTI to get it spaced nicely. For one of them, I stamped it with Chocolate Truffle Amalgam ink and heat embossed it with clear embossing powder.

I stamped the flowers and leaves and cut them out with the coordinating dies. I wanted to layer the front panel onto a piece of brown cardstock, but I didn't have any that matched, so I swiped the Chocolate Truffle ink pad onto the edges of a piece of white cardstock to make it brown.

I added this to a white card base and adhered the flowers and leaves, popping up some of the flowers with foam squares.


Supplies I used:
MISTI
Gina K. Designs: Especially for You stamp set
                            Electro Pop Flowers stamp set and coordinating dies
                            Ink: Lemon Drop, Coral Reef, Tomato Soup, Grass Green, Fresh Asparagus,                                               Chocolate Truffle Amalgam
                            White, Lemon Drop cardstock
clear embossing powder, foam squares from my stash


Monday, 28 October 2019

Scrapped Squares

I have another card that I made for the Splitcoaststampers - Save Your Scraps! challenge. It's a good chance to use up some of the scraps that are too good to throw away!


I punched out 1" squares from my paper scraps, and punched 1 1/2" scalloped squares from my red cardstock scraps. For the sentiment, I used my MISTI to stamp it twice and then I stamped it with VersaMark ink and heat embossed it in clear. I layered all the squares onto the red scalloped squares, and using my Cut-Align ruler, I arranged them onto the blue cardstock, which I attached to a white card base.

This was a fairly quick card to make and my scrap pile is reduced a bit. Still many more scraps to use up!

I used the following supplies:
MISTI
Cut-Align ruler
1” square punch
1 1/2” scalloped square punch
Gina K. Designs: Winter Cheer patterned paper pack
                            Christmas Joy stamp set
                            Red Velvet ink

                            Red Velvet, Ocean Mist cardstock
VersaMark ink
clear embossing powder, white cardstock from my stash

Thursday, 24 October 2019

Save your Scraps!

This month, the MISTI Monday challenge is called Save your Scraps! We need to use scraps on our card. I am also entering this in the Simon Says Stamp Wednesday Challenge - Fall/Autumn Colors.


This was a fun card to make. I placed some 2 1/2" wide Scor-Tape on a piece of white cardstock. After peeling off the release paper, I attached the strips of cardstock and patterned paper. I trimmed this down to 5 1/2" and attached it to the front of a white card base. 

Using my MISTI, I stamped the sentiment, cleaned the stamp and stamped again with VersaMark ink. I heat embossed it in clear so that the colour of the ink showed through. I added a few rhinestones to finish off the card.

I used the following supplies:
Gina K. Designs: Wrapped in Love stamp set
                             Give Thanks patterned paper pack; 
Red Velvet, Fresh Asparagus cardstock
                             Honey Mustard ink
VersaMark ink
Scor-Tape
Original MISTI
white cardstock, clear embossing powder, rhinestones from my stash

Sunday, 20 October 2019

More 3D Papercraft

I liked doing my previous projects so much that I decided to make another one. Here is the Sleeping Fox.


Isn't he cute? It comes as a pdf file, and you print it, cut it out, score, apply tape, fold and assemble. It sounds like it would take a long time, but I do it while watching TV and it doesn't seem long at all. I received the file on Thursday and finished it last night (Saturday). 

You can see all the different things you can make on the Scor-Pal website. There are lots of animals, and some shapes and numbers, too.